-
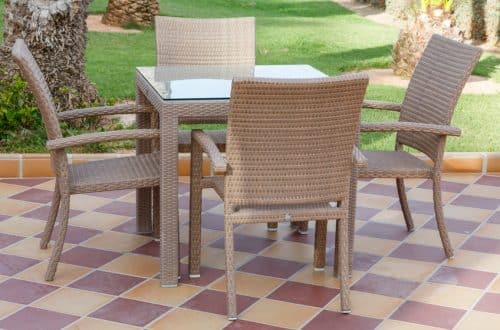
Ne laissez plus jamais votre parasol s’envole r: des solutions pour tous les jardins
MT: Gardez votre parasol fixé : Guide complet pour tous les jardinsMD: Qui n’a pas connu l’angoisse de voir son parasol s’envoler lors d’un coup de vent inopiné en plein été ? Pourtant, le parasol est un accessoire essentiel du… Qui n’a pas connu l’angoisse de voir son parasol s’envoler lors d’un coup de vent inopiné en plein été ? Pourtant, le parasol est un accessoire essentiel du jardin lors des beaux jours. Conçu pour apporter de l’ombre et protéger des rayons du soleil, sa légèreté et son exposition au vent le rendent aussi vulnérable face aux bourrasques. Il n’est cependant pas sans poser problème. Comprendre pourquoi un parasol peut s’envoler et comment empêcher un…
-
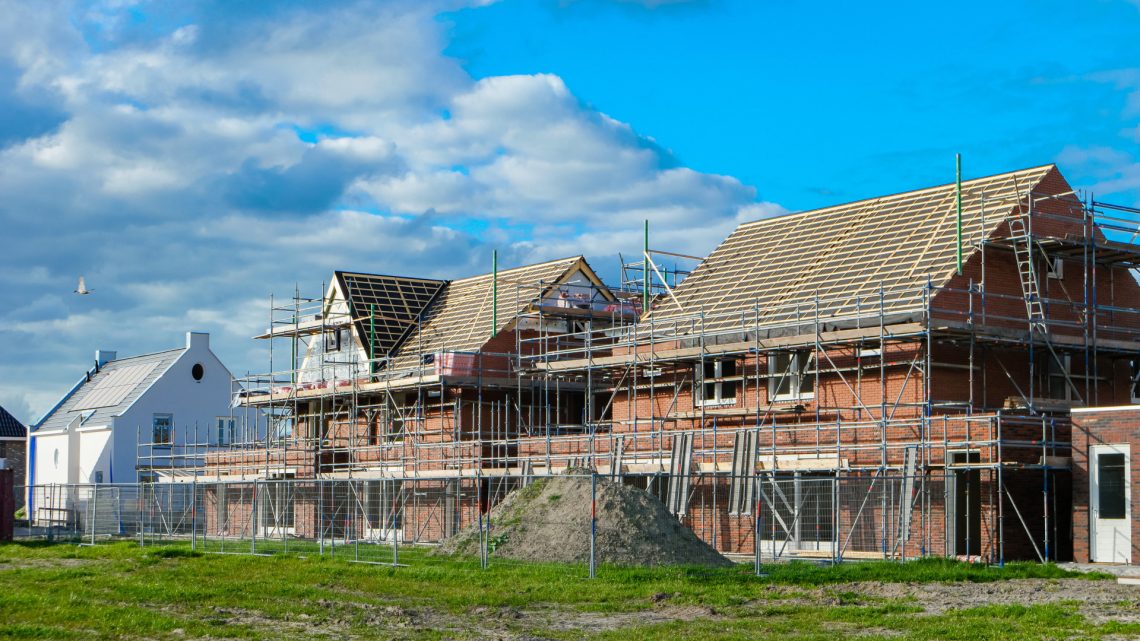
Réussir votre projet de construction : Les expertises d’un spécialiste en maisons individuelles
Lancer un projet de construction est important. C’est une étape majeure dans la vie de nombreuses personnes. Que ce soit pour construire leur première maison. Ou pour investir dans une nouvelle propriété. Cependant, ce processus comporte des défis. Il y a aussi des interrogations. Dans cette quête, faire appel à un spécialiste est intelligent. C’est une décision judicieuse. Les avantages de travailler avec un constructeur de maisons individuelles Expertise professionnelle : Les constructeurs de maisons individuelles sont experts. C’est pourquoi, il est conseillé de Découvrir Trecobat pour la construction de votre maison. Leur expertise professionnelle est précieuse. En effet, ils connaissent bien le processus de construction. Cela évite les erreurs…
-
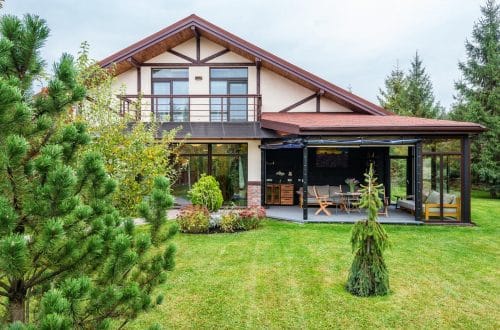
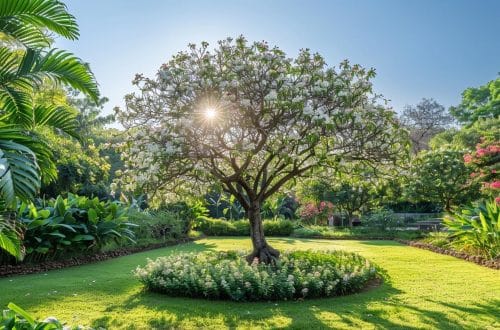
Agrandissement de maison en bois : Des solutions créatives pour un espace de vie optimal
Une extension transforme une maison. Elle la rend fonctionnelle et agréable. Parmi les options, le bois se distingue. C’est une solution créative. Elle offre de nombreux avantages. Les avantages d’une extension de maison en bois Esthétique et chaleur : Le bois est chaleureux. Il ajoute une touche naturelle. Une extension en bois s’intègre bien. Elle s’harmonise avec l’architecture. Cela crée un ensemble cohérent. C’est esthétique. Durabilité et résistance : Contrairement aux idées reçues, le bois est durable. Lorsqu’il est correctement traité et entretenu, il devient résistant. Grâce aux technologies modernes, les extensions en bois sont possibles. Ces extensions sont robustes et durables. Elles peuvent résister aux intempéries. Écologie et durabilité…
-
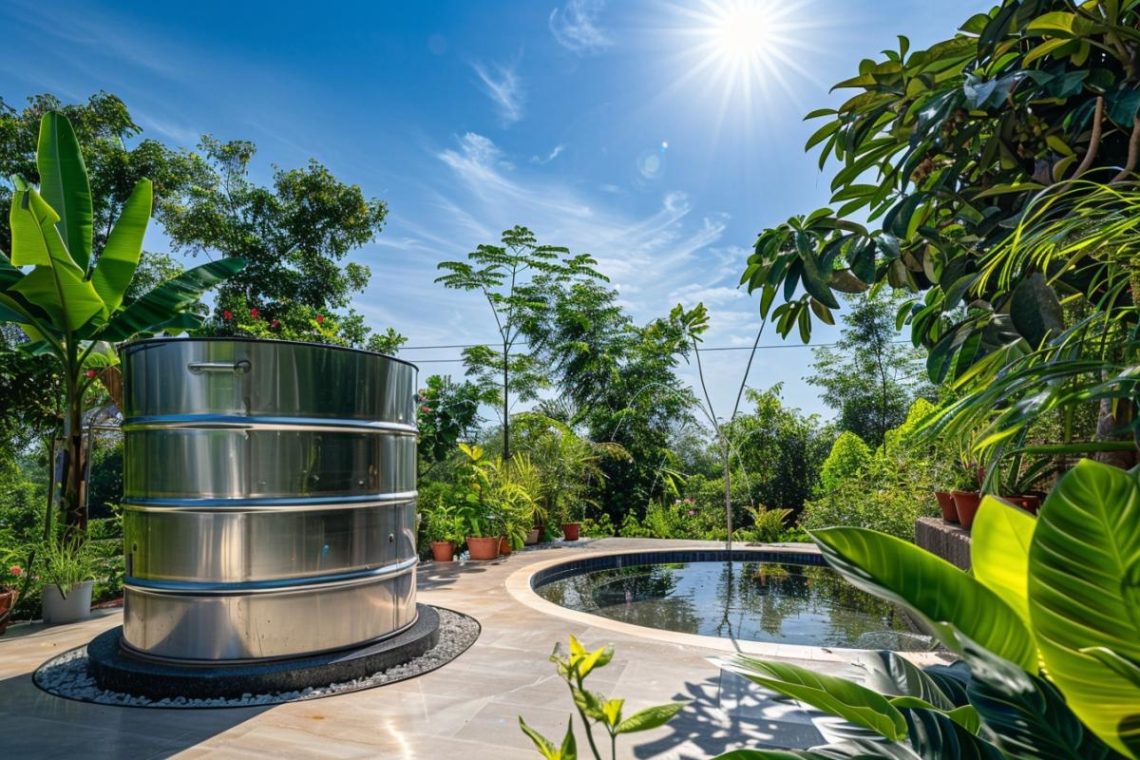
Choisissez votre cuve à eau chez Cuve-Expert : qualité et durabilité assurées
Au sujet de gérer l’approvisionnement en eau, que ce soit pour l’irrigation, le stockage d’eau de pluie ou même pour des fins industrielles, la qualité et la durabilité des équipements sont primordiales. C’est là que les solutions de stockage d’eau entrent en jeu, offrant une variété de contenants pour répondre aux besoins spécifiques de chaque projet. Dans ce contexte, choisir la bonne cuve à eau peut s’avérer être un atout majeur pour garantir un approvisionnement en eau efficace et sûr. Avec les options disponibles, allant des réservoirs de petite capacité aux citernes de grande dimension, il devient essentiel de bien comprendre les avantages et les spécificités de chaque type de…
-
Cuve à eau cuve-expert : guide ultime pour choisir la meilleure option
Dans la quête d’un mode de vie plus durable, la récupération de l’eau de pluie s’avère être une stratégie élémentaire, notamment grâce à l’usage de cuves de stockage. Ces réservoirs, spécialement conçus pour la collecte et la conservation de l’eau pluviale, offrent une solution écologique et économique pour réduire notre empreinte hydrique. Grâce à leurs diverses applications, de l’irrigation au lavage des sols, ils jouent un rôle essentiel dans l’optimisation de l’utilisation des ressources en eau. Cette approche, non seulement préserve nos ressources en eau potable, mais contribue également à la gestion durable de cette ressource précieuse. Les avantages écologiques et économiques du stockage d’eau de pluie Opter pour une…
-
Valhor : votre guide complet pour comprendre et investir dans l’horticulture.
Valhor, synonyme d’excellence dans l’univers de l’horticulture, joue un rôle crucial dans le développement et la valorisation du secteur floral et paysager français. Derrière ce nom se cachent des initiatives, des services et une structure destinés à promouvoir et à soutenir la filière française du végétal. Découvrez le monde fascinant de Valhor, véritable catalyseur d’innovation et de croissance pour les professionnels de l’horticulture, de la fleuristerie et du paysage. L’interprofession au service des métiers de la filière du végétal La nature complexe du secteur horticole, embrassant à la fois la production, la commercialisation, et l’aménagement paysager, exige une organisation solide et fédératrice. Valhor, en tant qu’interprofession reconnue par l’État, rassemble…
-
Découvrez le campus Agronova : formations et innovation en agriculture.
Dans le monde de l’agriculture et de l’enseignement agricole, le Campus Agronova s’impose comme une référence. Situé dans des zones stratégiques telles que Montbrison/Précieux et Pilat/St Genest Malifaux, cet établissement offre une gamme complète de formations destinées à préparer les étudiants à de nombreuses carrières dans le secteur agri-environnemental. Dans ce billet, nous explorerons les différentes formations disponibles sur ce campus, allant des niveaux débutants aux options plus avancées. Formations proposées dans cet établissement Le Campus Agronova dispose d’un éventail de formations couvrant divers aspects du monde agricole. Que ce soit pour les jeunes sortant du collège ou pour ceux souhaitant se spécialiser après un Bac ou un BTS, il…
-
Comingaia : découvrez la révolution verte pour un futur durable et innovant
La révolution verte prend enfin forme grâce à des initiatives novatrices comme Comingaia, à la pointe de la transformation écologique dans le domaine du paysagisme et de l’aménagement extérieur. Cette plateforme se distingue par son engagement sans faille en faveur de l’environnement, représentant une solution tout-en-un pour les particuliers désireux de rénover leurs espaces verts en respectant la planète. Comingaia marie harmonieusement technologie et nature, offrant une multitude de services destinés à faciliter la vie des professionnels tout comme celle des amoureux du jardinage. Cet article explore cette révolution qui permet de repenser nos jardins et nos extérieurs dans un esprit durable et innovant. Les modalités de règlement favorisant une…
-
Idverde : leader européen des services d’aménagement paysager et d’entretien d’espaces verts
Les services d’aménagement paysager et d’entretien d’espaces verts sont plus que jamais sollicités dans nos communautés modernes. La transformation des espaces gris en havres de paix verdoyants est une nécessité pour améliorer notre qualité de vie et notre environnement. Idverde, avec sa stature de leader européen dans ce domaine, joue un rôle crucial dans cette mission écologique et esthétique. En naviguant entre les enjeux de biodiversité, de développement durable et d’aménagement esthétique, ils parviennent à répondre aux exigences contemporaines en matière de durabilité et de qualité de vie. Les compétences au cœur de l’aménagement paysager L’un des piliers du succès d’Idverde réside dans son expertise variée, couvrant tous les aspects…
-
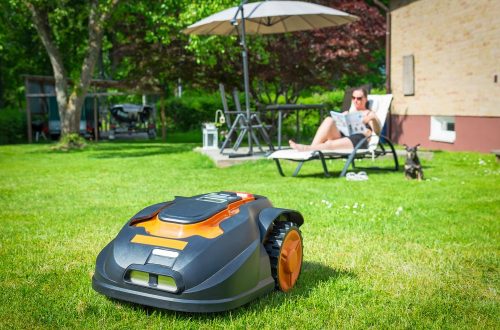
Paysalia 2023 : découvrez le salon professionnel du paysage, jardin et sport
Le salon Paysalia, événement incontournable pour les professionnels du paysage, jardin et sport, ouvre ses portes pour une nouvelle édition à Lyon Eurexpo, du 5 au 7 décembre 2023. Cet événement rassemble une multitude d’acteurs de la filière du paysage en France, offrant une plateforme unique d’échange et de découverte des dernières innovations dans le domaine. Entre machines révolutionnaires de préparation du sol et solutions écoresponsables pour le jardinage, Paysalia s’annonce comme un véritable creuset d’innovations et de savoir-faire, dédié à dessiner le paysage de demain. Récapitulatif de paysalia 2021 : une source d’inspiration continue Dans la lignée du succès des éditions précédentes, Paysalia continue de constituer une source d’inspiration…

La maison, coté jardin